Always wear safety glasses and a respirator mask when cutting into copper clad material. The resultant powder can be very dangerous.
Here is my "method":

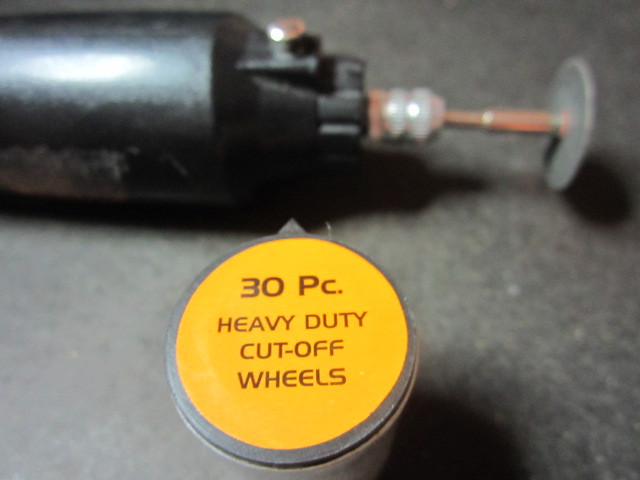 I use an off-brand "dremel" type rotary tool. It is much less powerful than my Dremel brand rotary tool which I find actually helps as it gives me more control when making the blades.
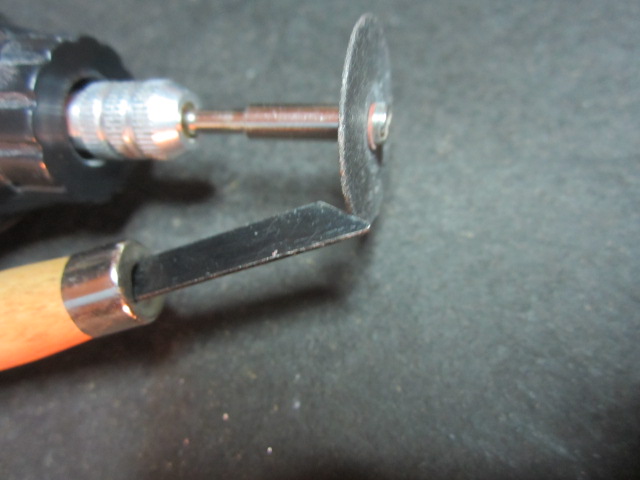
 Here is a very crude template for the general shape I cut the wood carving blades into for use as an island pad cutter. If you are going to fit them in metal utility knife handles, the bottom / base of the blade must be shortened to fit the metal handle (at least in my case).
I've made some by cutting the Wood Carving blade while it is still in its original wooden handle.

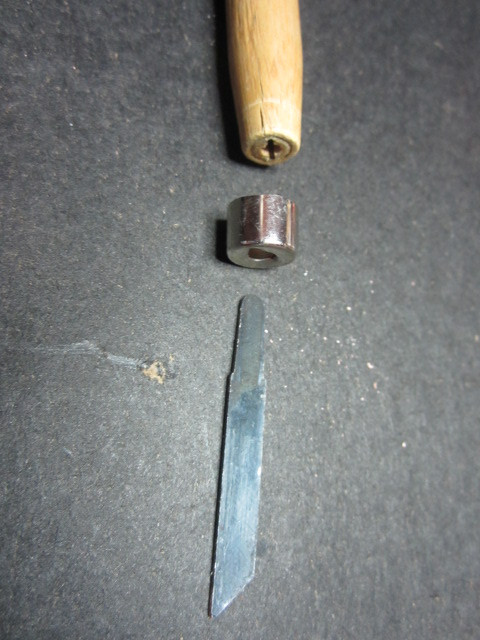


I have also made them by removing the wood carving blade from the wooden handle and using a Panavise to hold the blade while I cut it to the desired shape.


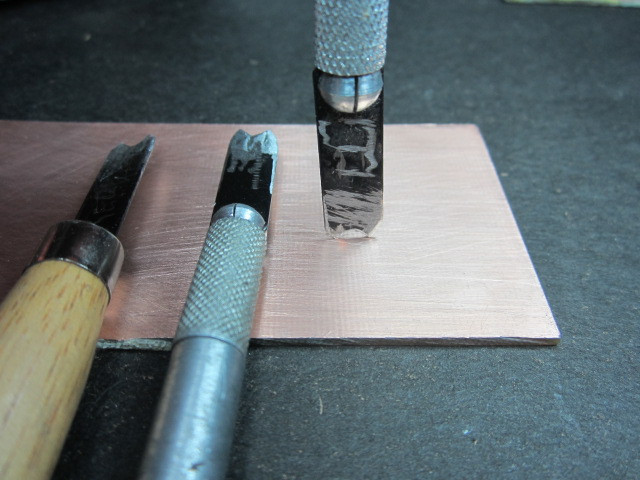
Here I begin the process of creating an island by press firmly down on the copper clad. I put a bit more pressure on the side of the blade that will act as the pivot


Within a few seconds, with a few twists of your mighty CW fist, you wil have a beautiful isolated island home for your precious RF components!
A scouring pad helps remove the copper debris from the carving process.

The most important part of the procedure, check continuity, make sure your island isn't a peninsula!
There you have it, folks. I hope that by illustrating it this way, anyone who didn't have a clear understanding of how to make islands on copper clad, will have such an understanding now. As I said in the beginning, I make no claims to originality. This is just my method. There are many others. I simply used what I had on hand to make this, purchasing nothing to build the island cutters, in the true spirit of homebrewing. Lets hear about how you make islands! Please share below. Maybe you are trying to make an island cutter similar to mine but having trouble, please feel free to ask questions or give feedback below or email me.
Thank you for your time, best wishes, keep your iron hot and stay fluxy!
-KE0BFF